


How to assemble your bike after delivery: a step-by-step guide
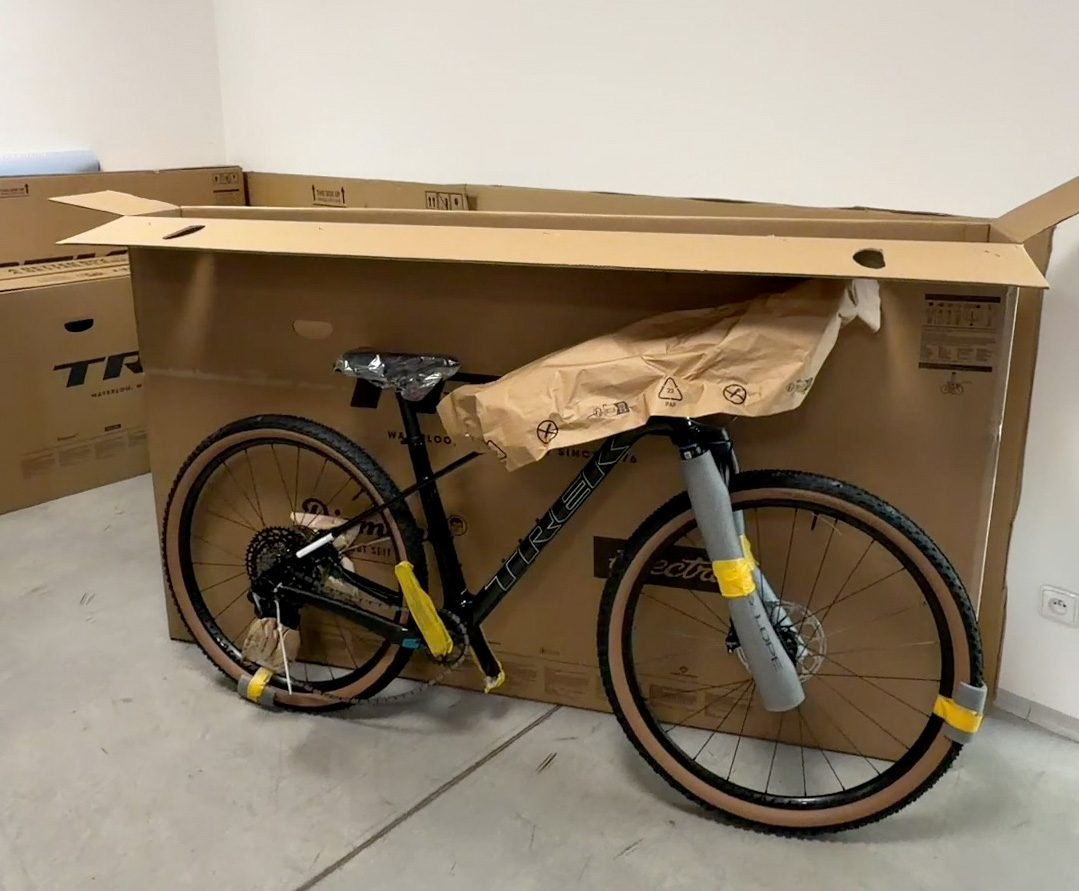
Your new bike from our online shop will arrive carefully packed and protected against damage during transport. Premium brands Trek, Rascal and Woom are also fully assembled and professionally adjusted at our service centre before dispatch.
To transport the bike safely, some parts need to be removed – most commonly the front wheel, handlebars and pedals. Refitting them is straightforward. We have prepared a clear guide to help you assemble your bike step by step at home.
What condition will the bike arrive in?
For premium brands Trek, Rascal and Woom, our service technician fully assembles and adjusts the bike as standard before dispatch. All important components are correctly adjusted and ready to ride. Only selected parts are then removed for safe transport.
We primarily offer other bike brands in their original packaging. If you would like full assembly and professional adjustment before dispatch, we will be happy to arrange this service for a fee of CZK 800.
1. Unpacking the bike and checking the contents
Carefully remove the bike from the shipping box and remove all protective materials used to secure it during transport.
Check that the delivery contains all the parts you ordered. These usually include the bike itself, the front wheel, handlebars and pedals.
2. Fitting the front wheel
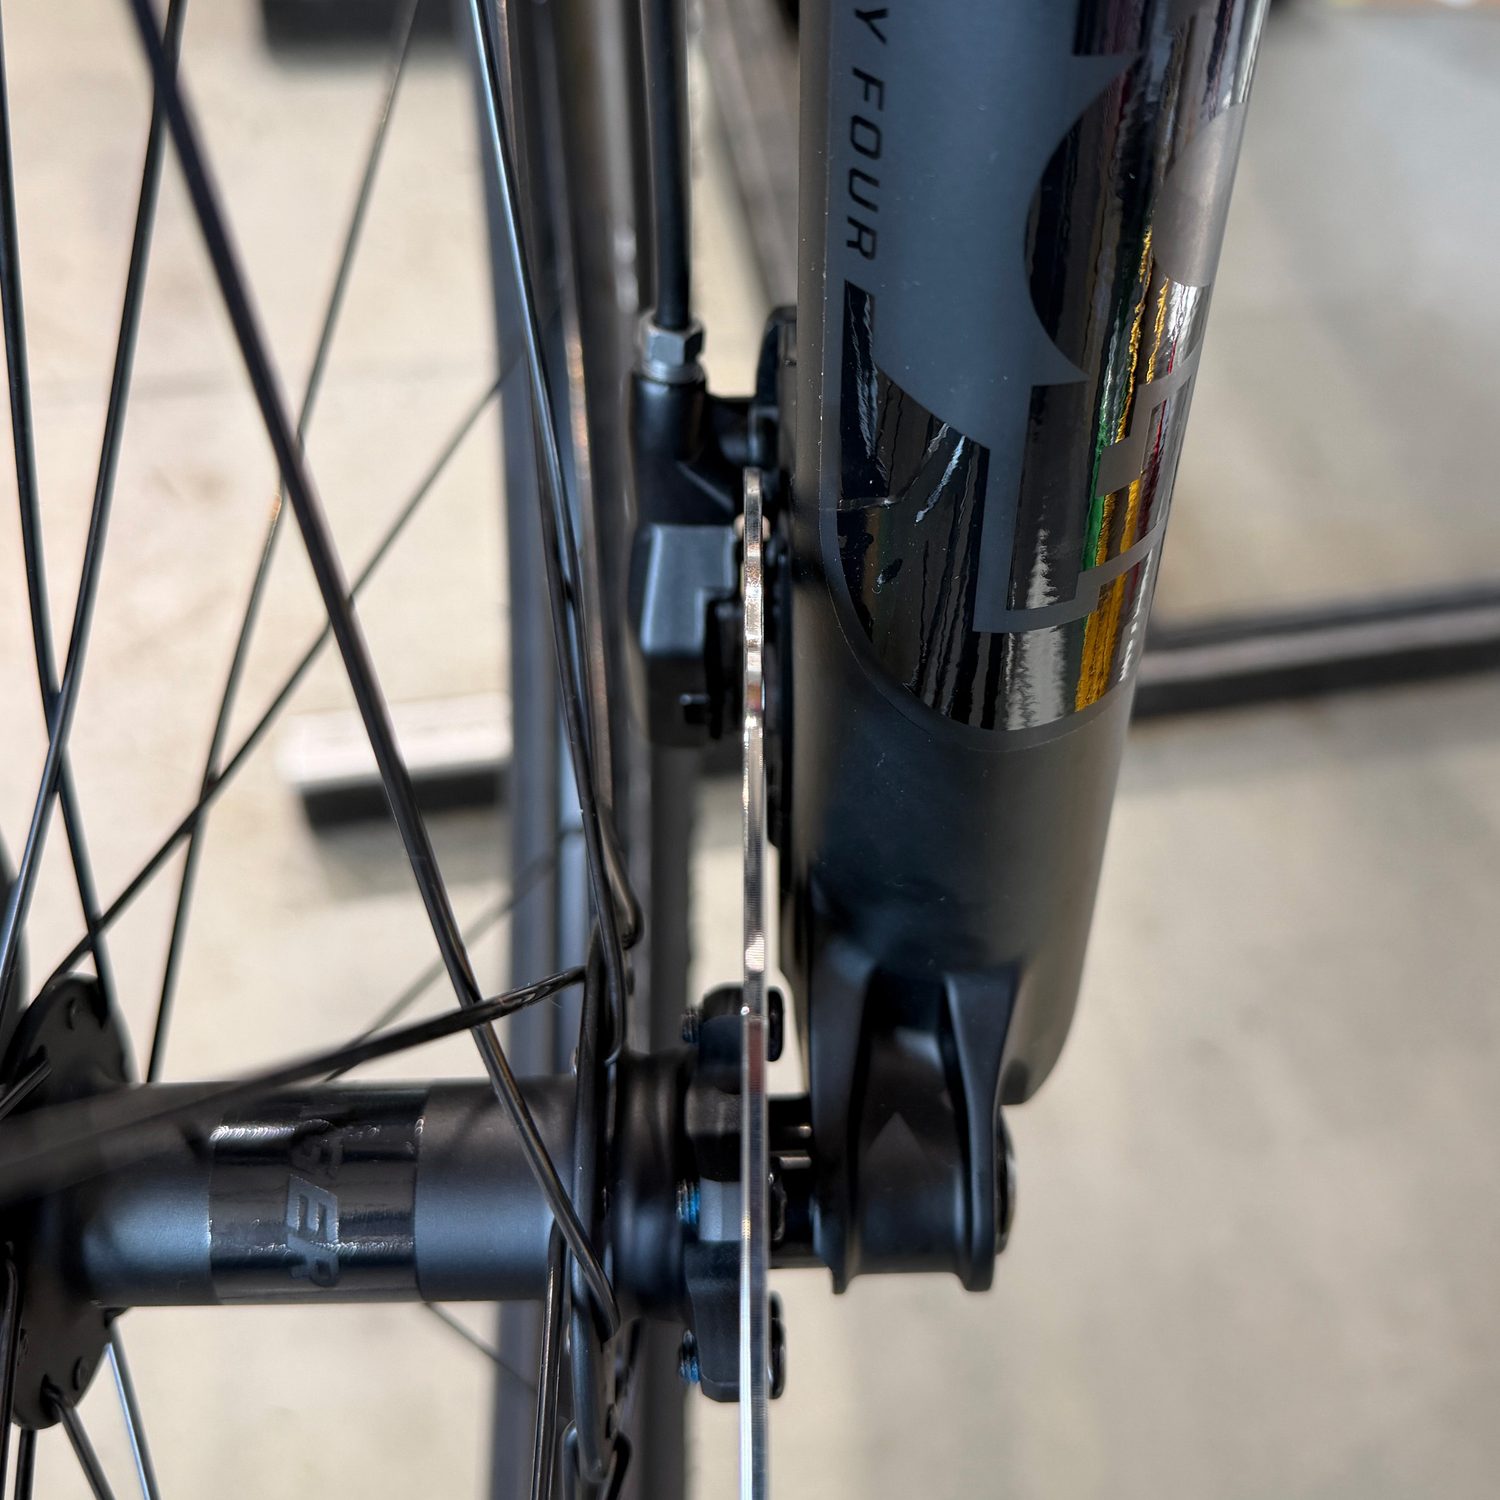
First, fit the front wheel into the fork. On bikes with disc brakes, make sure the brake disc fits correctly between the brake pads in the brake calliper.
On bikes with rim brakes, pay attention to the correct direction of tyre rotation. This is indicated by an arrow marked ROTATION on the tyre sidewall and must match the direction in which the wheel turns when riding forwards.
Important when fitting the front wheel
On bikes with disc brakes, the brake disc must be correctly seated in the brake calliper, between the brake pads. If the wheel does not fit easily into the fork, do not use force. Check the position of the disc and make sure the wheel is correctly seated.
3. Securing the front wheel
The method for securing the front wheel depends on the design of your bike. The most common options are a quick-release skewer or a thru-axle.
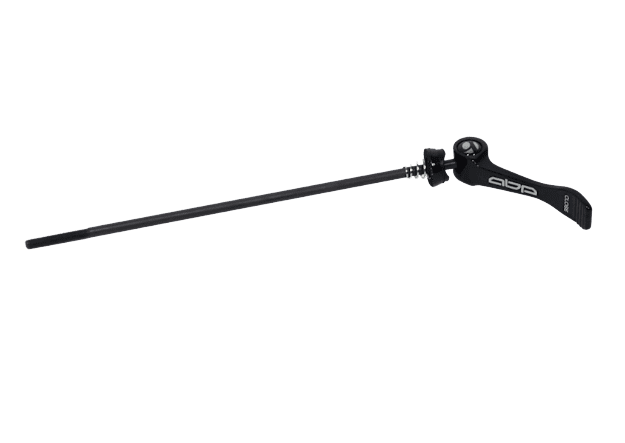
Insert the quick-release skewer into the front hub so that, when viewed from above, the lever is on the left-hand side of the bike in the direction of travel.
Hold the lever open and tighten the nut on the opposite side by hand until you feel resistance. Then close the lever. When correctly tightened, it should close with moderate resistance and the wheel must be firmly secured.
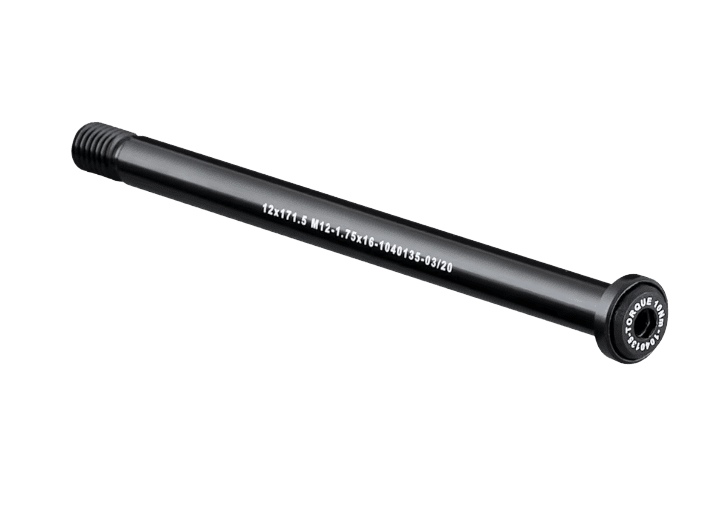
Insert the thru-axle through the fork dropout, the front hub and the other fork dropout. Then screw it in and tighten it securely.
Tighten it to the torque specified on the front axle itself. If the axle has a lever, follow its design and the manufacturer's instructions.
4. Checking the front brake
On bikes with disc brakes, check that the brake disc is correctly seated in the brake calliper between the brake pads. After fitting the wheel, squeeze the brake lever several times and check that the brake works correctly.
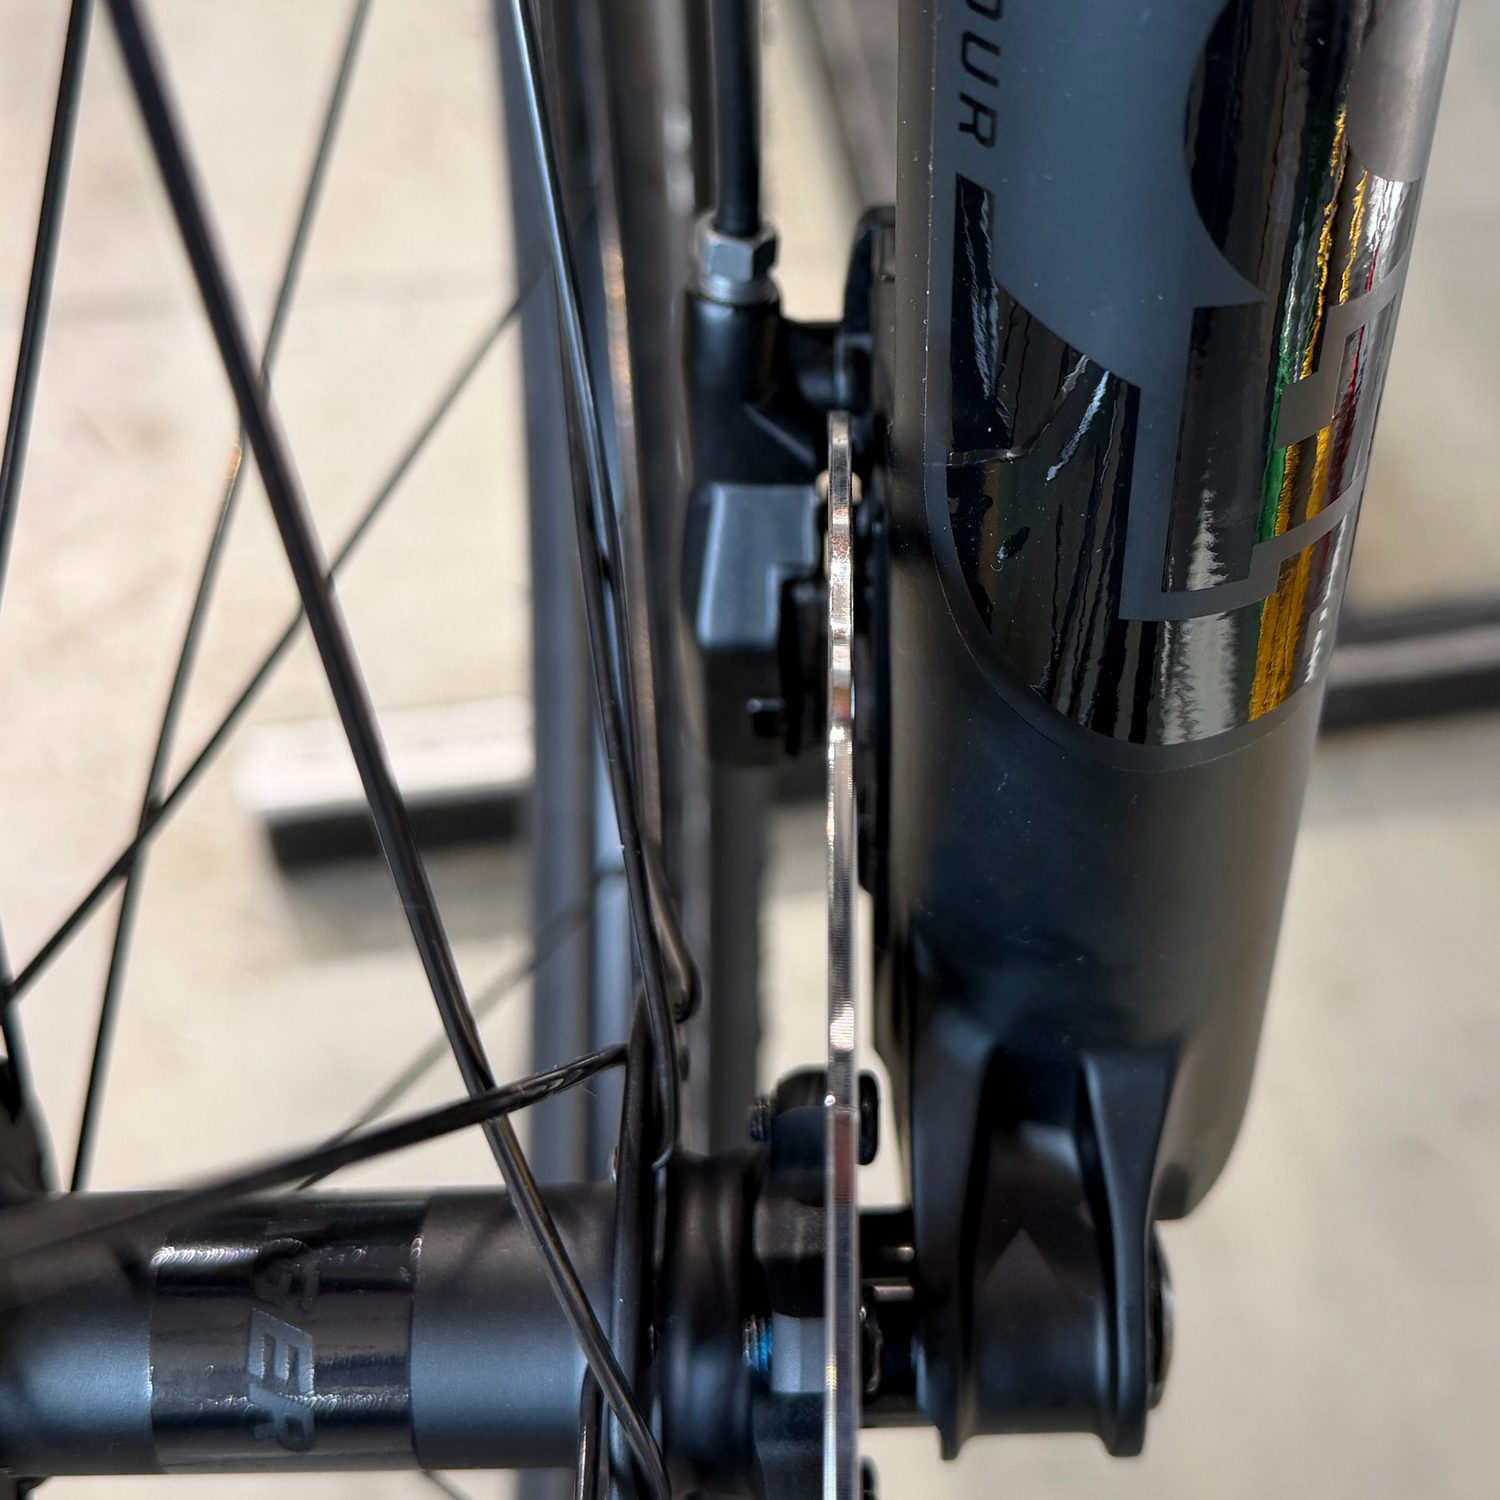
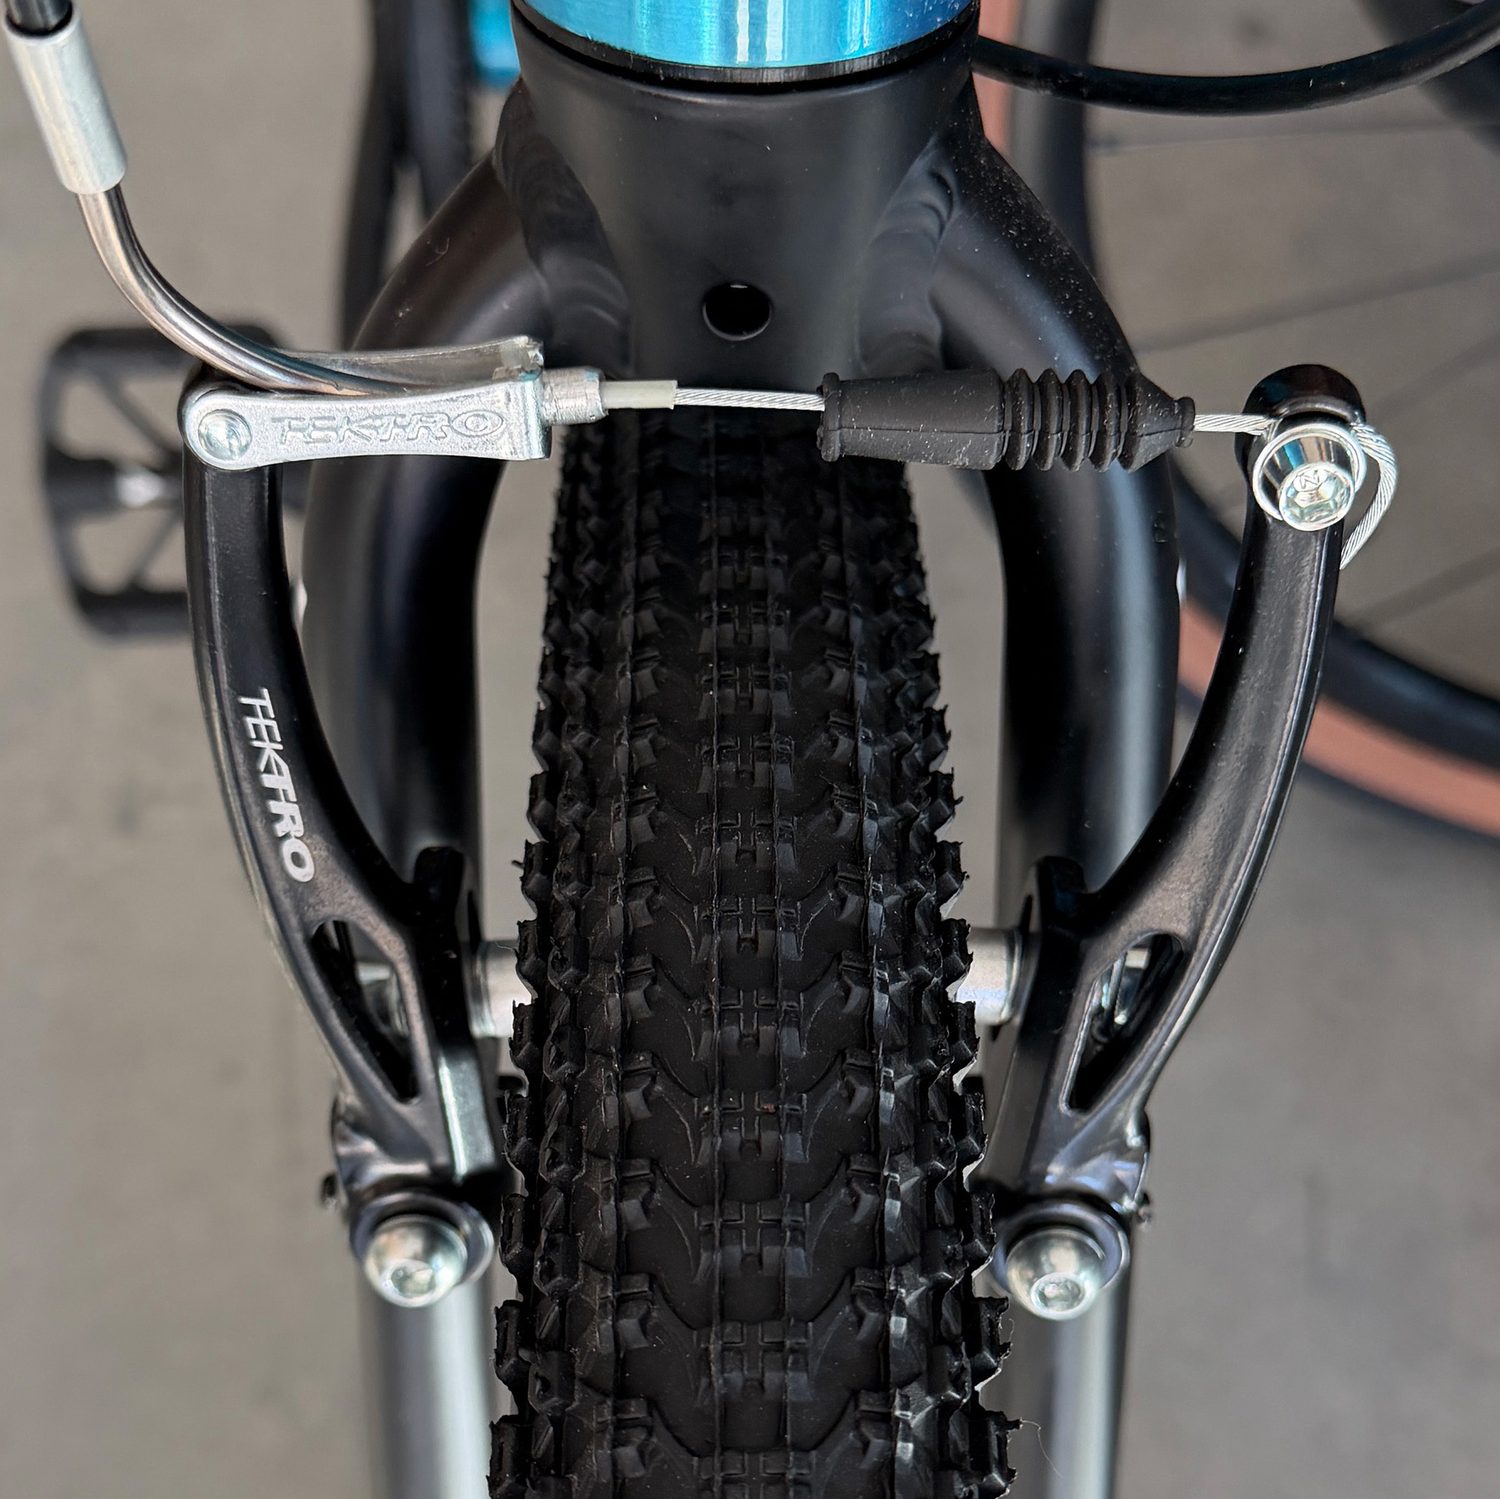
On bikes with rim brakes, the brake needs to be reassembled after fitting the front wheel. The brake pads must be correctly positioned against the braking surfaces of the rim. After reassembly, squeeze the brake lever several times and check that the brake works correctly. If the pads are not correctly positioned, the brake must be adjusted.
5. Fitting the pedals
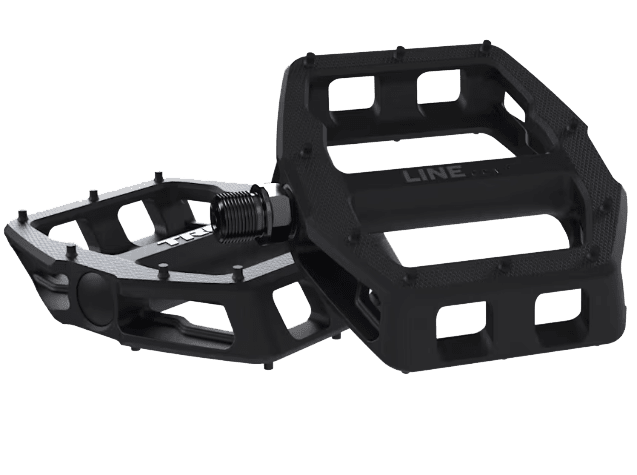
Before fitting the pedals, we recommend applying a light coating of grease to the threads. This will make fitting easier and help prevent damage to the threads.
Make sure the pedals are fitted on the correct sides:
- The right pedal (R) goes on the right crank and has a right-hand thread.
- The left pedal (L) goes on the left crank and has a left-hand thread.
First, screw the pedals in by hand to avoid damaging the threads. Then tighten them thoroughly using a 15 mm pedal spanner or a 6 or 8 mm Allen key. The recommended tightening torque is 40 Nm.
Take care with pedal threads
The left pedal has the opposite thread to the right pedal. Never try to force a pedal in if the thread does not engage easily. This could cause irreversible damage to the crank.
6. Fitting the saddle and seatpost
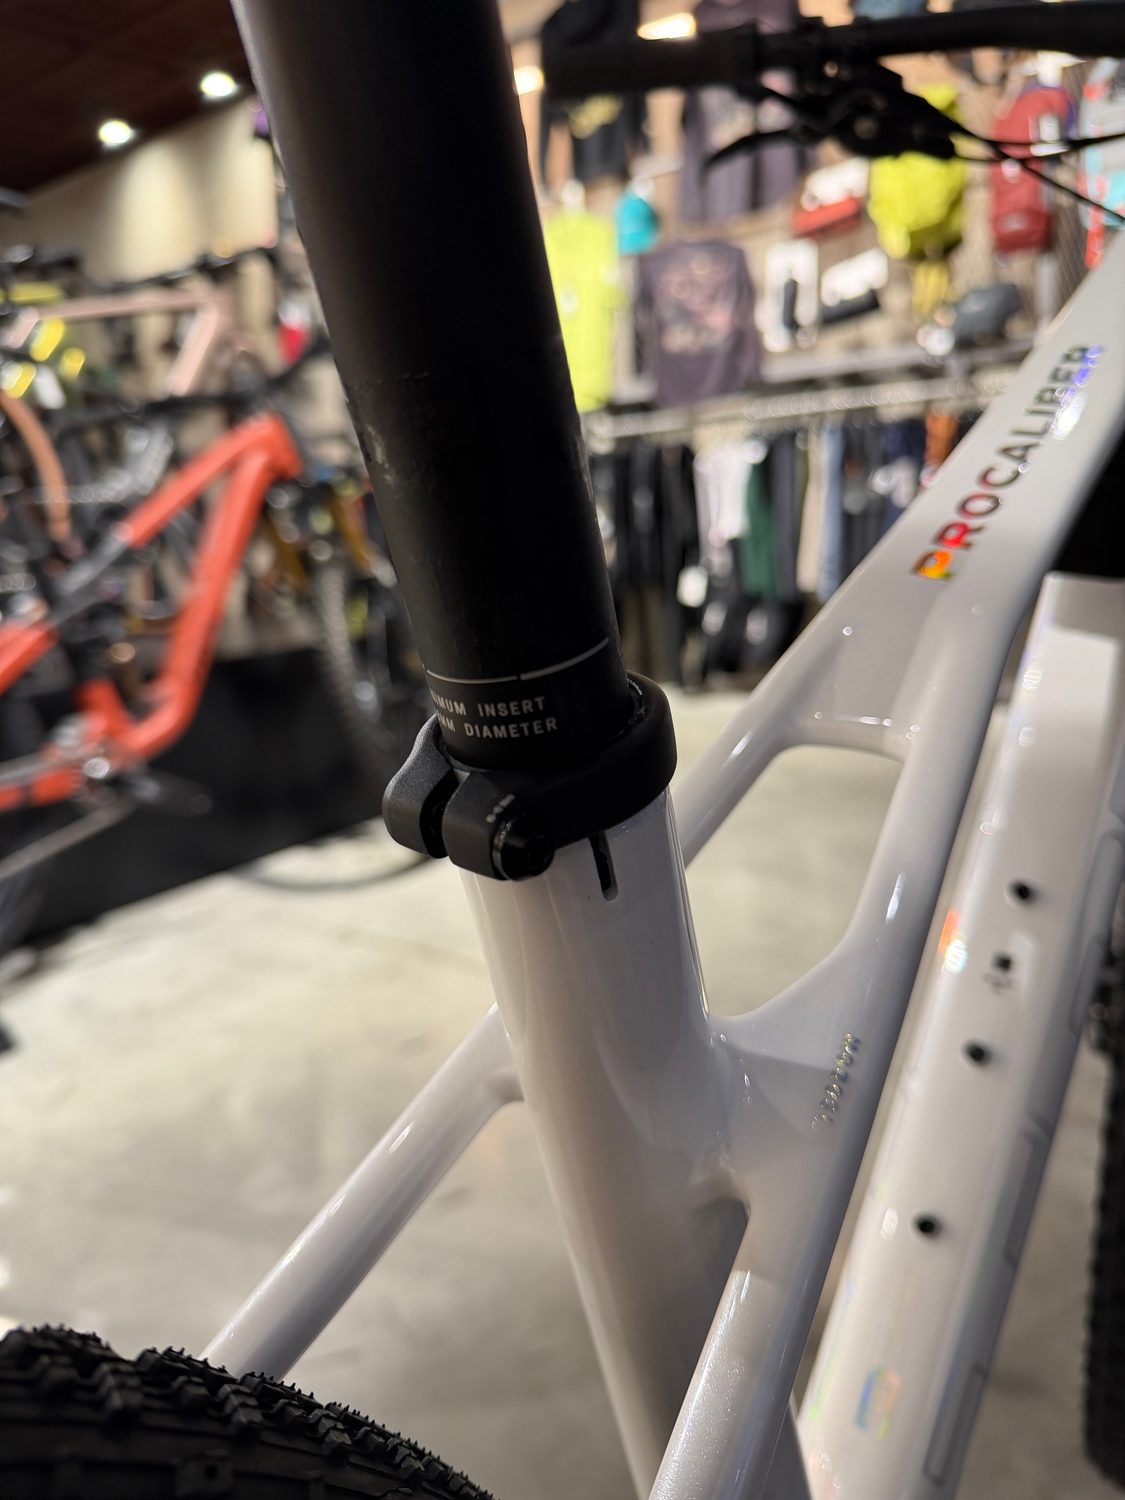
If the saddle and seatpost are supplied separately, insert the seatpost into the frame's seat tube.
Set the saddle to an approximate height suited to your build and secure the seatpost using the seatpost clamp. Observe the maximum extension and any minimum insertion marking on the seatpost. If using a clamp without a quick release, follow the tightening torque specified on the clamp, most commonly 5 Nm.
If the saddle is already fitted, simply check that it is secure.
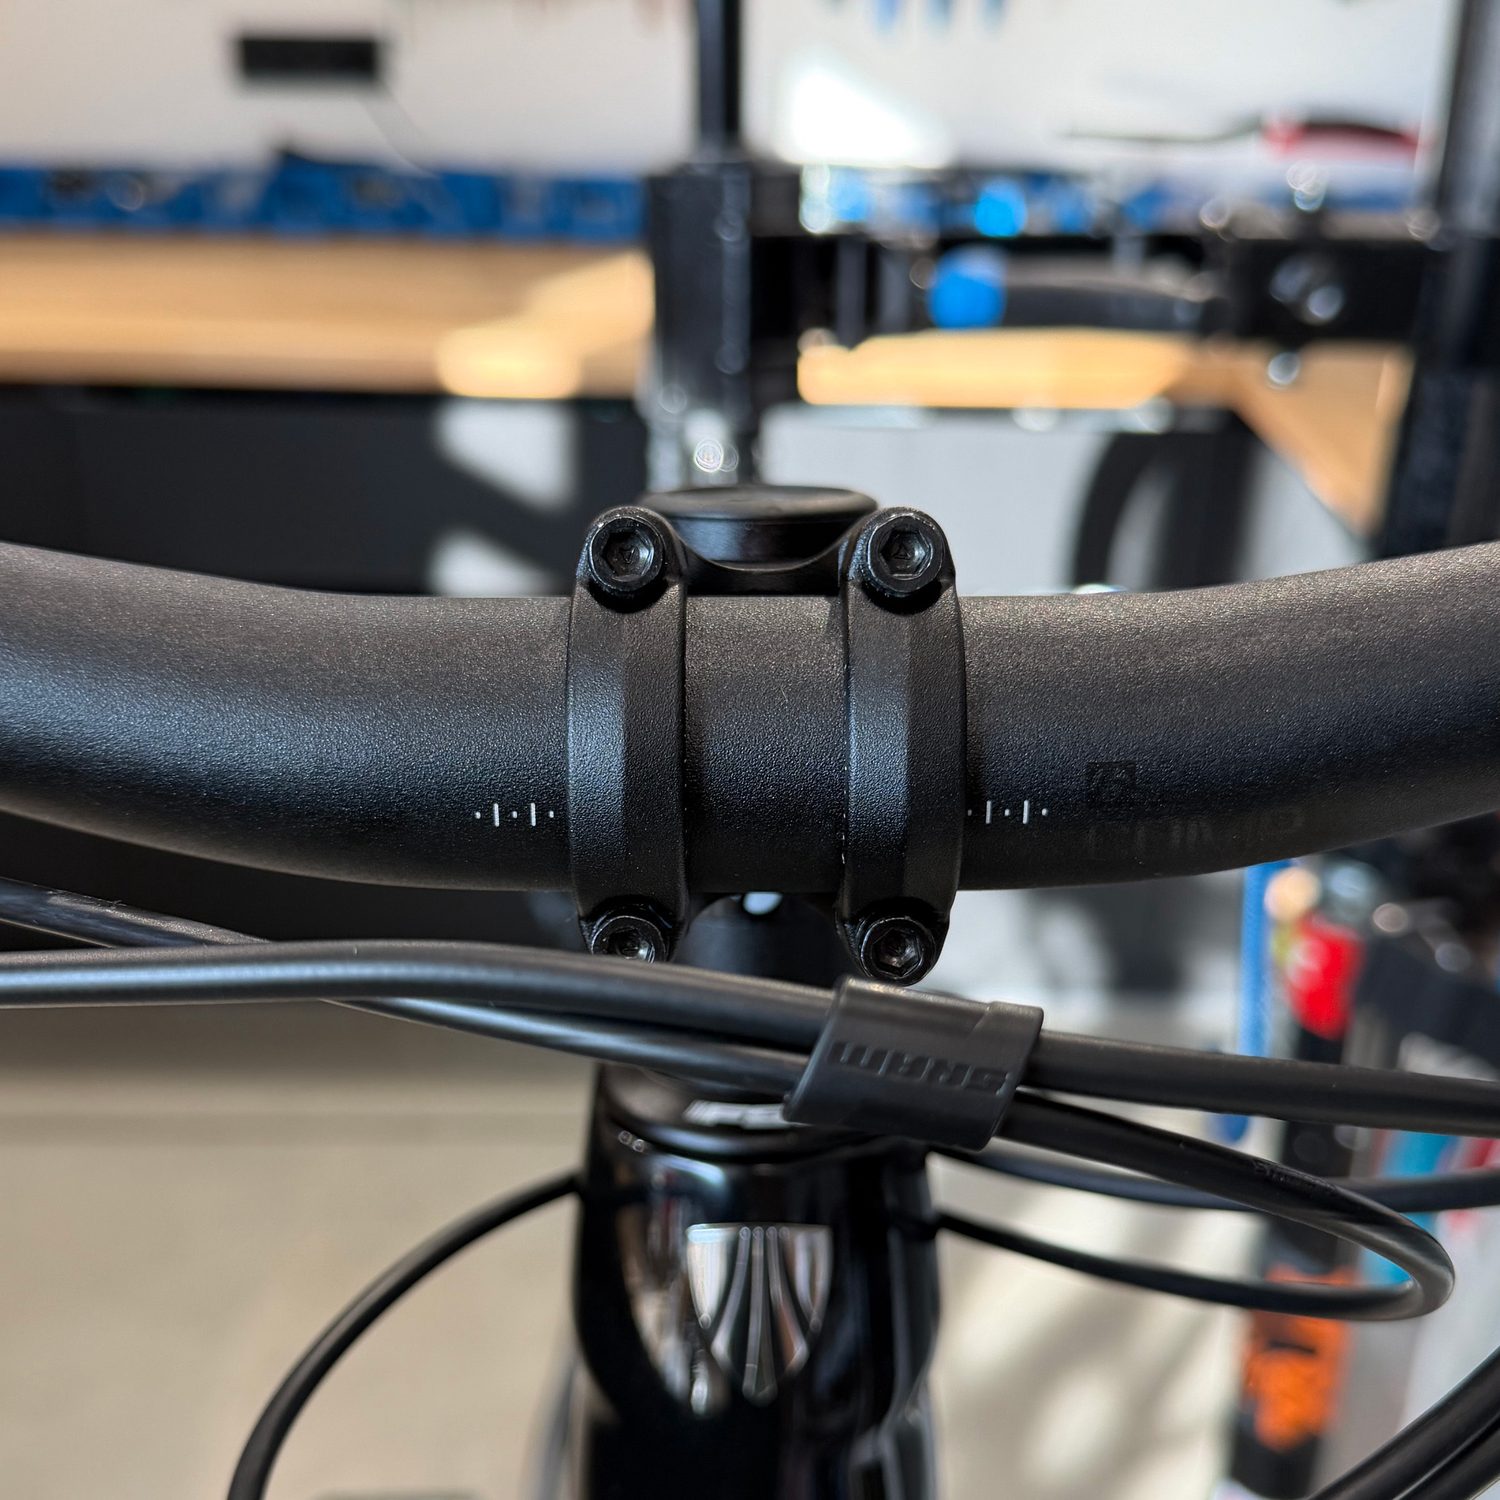
7. Fitting the handlebars
Place the handlebars in the stem and centre them so that they are correctly angled and comfortable for controlling the bike.
Then fit the front part of the stem and tighten the bolts gradually and evenly. Make sure the handlebars are correctly seated and follow the specified tightening torque.
For a standard stem, the enclosed instructions specify a tightening torque of 5 Nm. However, always follow the value stated on your particular stem.
8. Final check before your first ride
Before your first ride, take a few minutes to check the entire bike thoroughly. A correctly assembled and secured bike is essential for a safe ride.
Checklist
- The front wheel is correctly seated and firmly secured in the fork.
- The brake disc is correctly seated in the brake calliper.
- Both the front and rear brakes work correctly.
- The pedals are fitted on the correct sides and thoroughly tightened.
- The seatpost is correctly inserted and secured.
- The handlebars are centred and firmly tightened.
- All other important connections and components are securely fastened.
- The tyres are inflated to the appropriate pressure.
Unsure about assembly?
If you are not confident about any of the steps or are unsure whether the bike has been assembled correctly, it is best to contact a professional bike workshop. An incorrectly fitted or adjusted component can affect the safety and function of the entire bike.
At Summit Bikes, we will be happy to help with assembly and subsequent adjustments.
One final tip
After riding your first 200–500 km, we recommend having your first service check. For bikes purchased from us, this is free at our shop. We will check important connections, adjustments and the overall condition of the bike so you can enjoy your new bike without worry.
We wish you plenty of enjoyable rides and many happy kilometres!